Tuesday, 10 December 2013

Well I have another contract for another architect

It seems like I have been here before...

.... apart from the first architect took about four months to send me a contract and when it arrived it was a load of rubbish.

Over the weekend I sent the Bulgarian versions of the Contract and Power of Attorney which arrived last week to Dilyana and she, good to her word, sent back a dual-language of the Power of Attorney (as this needs the Apostille) and a quick translation of the contract (which does not need the Apostille). I struggled a little bit to understand the contract but with some extra translation help from Dilyana I am confident that Lubo is quoting me an acceptable price and will cope with the PuP as well.

Contract Time!
Contract Time!
This is really good news.

I have contacted the same Notary as I used for the purchase and he is going to let me know a time this week to go in and get the process started; I am wondering if there is any chance of me getting this back this side of Christmas now but at least the process is moving forwards again.

Whatever happens it seems I may be back on track to arrive and nearly be ready to start... against all the odds.

A couple of other little bits to cover off.

Now that is packed well
I've loaded LOADS of things into Julian (the house was getting to be a mess with me packing bits and pieces and piling them at random) and my weekend plans have shifted to mean that I can head back over the Blackpool again and take all this stuff to storage. I'm amazed how much stuff I have managed to fit in the back and I will probably put even more in on Friday before I leave.

I've managed to arrange overtime over the Christmas holidays so that'll help the bank account; which is taking a hammering with all the costs I am incurring on the vehicles.

For Sale
For Sale
I'm still trying to sell Pierre so please, if you know someone who is looking for an excellent camper van for next year get them to contact me. I have stopped advertising this side of Christmas anyway, this isn't the best time of year to try selling a camper van, but I do still have the person who was expressing an interest from down south texting me. Also on the way back from Blackpool on Saturday I went into my old regular petrol station and the regular guy was there (who I hadn't seen for years) and he is interested in hearing about Pierre so fingers crossed for that too.

So there it is, today (yesterday as you are reading this) is three months until I leave Blackpool and tomorrow (today as you are reading this) is three months until I'm on the ferry out of the country.

Time flies....
Time flies....
Wow.

Monday, 9 December 2013

Poor Thomas

My plans for this weekend were well made, but sadly defeated by poor Thomas, who is more unwell than he was and appears to be getting worse.

Anyway that is getting ahead of myself.

The dining table before being taken down
On Thursday I got home and took my dining table down in preparation for my plans of bringing the trailer to my home with Thomas and taking the table and chairs to the storage. It took me a fair while as when I bought the table (second hand, obviously) it didn't come with all of the bolts and so I had to go and try and  buy some bolts which would fit well; they fit too well and to get them in and out I have to use the spanner to unscrew each 6" long bolt. Pretty boring stuff.
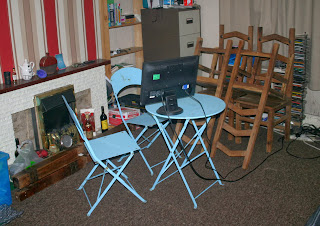
Rocking the garden furniture
With the table taken down, but about three months until I actually leave, I do need to have some kind of table so I have brought in my garden furniture because that is how I rock. It's comfortable enough, though I think I may need to put a cushion on it if I am to sit there for an extended period of time.

And so on Friday I was in work really early having driven Julian to work (early as I needed to ensure the carp parking space which would allow me to drive straight out of the gate) and then off to the studio after work with my work colleague and the drive was quite enjoyable with company. Once again I dropped the duvet down behind the front seats to keep the heat in and this works so well I am definitely going to keep doing this.

I got to the studio and went straight to the garage to collect Thomas. My plan was to stop at the studio in Julian the Friday night and head to Manchester really early doors with the trailer. This plan all changed as in the short (less than a mile) drive from the garage to the studio I started hearing a really unusual hissing sound from under the bonnet. Further inspection revealed that the filler cap on the radiator was venting. In my ignorance I thought this was the sum of the problem and so decided to go straight to the garage the day after to talk to my mechanic.

Insulation packed in behind the access panel
My plans for the Friday were to finish off the rabbit hutch however, with the fact I wasn't going to have to rush off to Manchester the next day, I decided to just do some preparation on Friday, and do the fiddly fitting in the morning after I'd taken Thomas back to the garage. The first thing I did was get the scraps of insulation and stuff behind the access panel.

Insulation behind the top panel
I also got the correct size of insulation to put behind the top panel, and measured and cut the sheet of wood for said panel. It was dark and I had discovered that the alternator was not charging the leisure battery and so I got a little down at this point; all that hassle and harassment with the camper van guy and I've had to email him to ask for him to honour his overly-expensive (and not optional) warranty. We shall see if he does so.

I fell asleep listening to the rain hammering down and as it normally does this really lulled me quickly. In the middle of the night I was woken by complete silence and lay there, just enjoying the fact that soon I would be able to experience that rare lack of bustle every day.

My first act on Saturday morning was to jump in Thomas and head over to the garage; I had a short conversation with the mechanic and he suggested I take him for a drive around and report back with what I found; I got about a  mile away from the garage and the heat gauge started rising and fast.
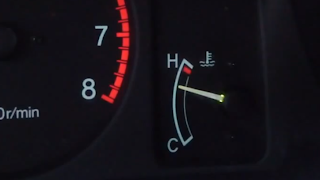
Not the thing you want to see
By the time it got that hot I had turned round, headed back to the garage, and dropped it off with the "just fix him please" instruction. My thinking is his illness has gone too far for me to be able to pass off as nothing to a potential sale and therefore if I write him off I will be losing thousands.

Completely solid olive oil
One of the best things about Julian is his cooker and this is proven by the fact that even though I was parked outside the studio I still chose to cook my breakfast on the gas hob in Julian. I was very amused to find that my olive oil had gone past the "cloudy because it is cold" stage to "completely solid"!

I was able to get some olive oil out by holding the bottle over the frying pan while my bacon was frying, and eventually some started to trickle out. I have never seen olive oil go totally solid before!
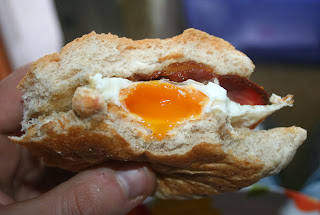
How amazing does this look!
I am not sure why but the bacon and egg butty I made this morning was outstanding. The bacon was crispy but still moist and the (over easy) egg still had enough runny in the middle and all in all it was amazing. Nom.
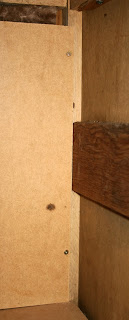
Back panel attached
Back panel attached
After this excellent breakfast I set to with the tasks I had set myself for the morning which first of all was to put the back panel on over the insulation. This was quickly achieved and proved the wisdom of not forcing this the night before.

There's an 'ole in the roof!
The next thing I spotted was that there was a hole I'd not seen before, which was only obvious now that panel was fitted, which would still allow Sassy the destruction machine to get to the (still live) power cable.

Guide holes to easy fitting
Rather than spend ages boxing this off, and in such a tight space, I realised that I could make use of a spare bit of wood from the shelf and block this gap off really quickly and easily. It was still an awkward space to access so I marked up and drilled out guideholes to assist fitting.

Guard shelf fitted
Guard shelf fitted
There is a limit to the usability of a power screwdriver and I reached that limit while fitting this shelf; I was able to get two opposing corners partially inserted but then I had to revert to the manual driver to finish these off, and put the other two in.
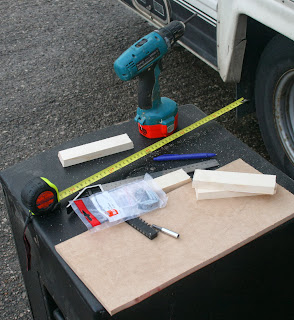
The platform measured and cut and ready for assembling
My next task was (if you remember, or care) was to build the platform which will sit below the ramp and allow Sassy to have move between the two levels. I spent a little bit of time taking measurements and working out exactly how I want this platform to be built and eventually decided that I would have one which went the whole depth of the cage and had legs like a table.
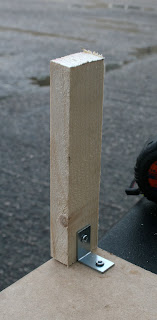
Fitting a leg
Fitting a leg
The best thing I have found in this whole process are these right angle joints which have made many things far easier and the legs for the platform are no different. I fitted all four legs in about five minutes (using the manual driver again) and the platform doesn't wobble at all.

The completed platform
The completed platform...
...and in place
...and in place
Perfect!

Wow this is a long update. Just a little bit more now...

Shutter is open!
Shutter is open!
I finally gained access to the storage unit via the shutter door; I was able to use the inverter off the leisure battery to run an extension cable into the unit and use the power to raise it; this is a good thing as the manual action is really awkward to use.

My stuff and the trailer in storage
I have been able to take the top of the desk over into the storage which is good as it means I have very little left to take over and this is helping me to understand just how much stuff I am taking. I have also been able to get the trailer in under cover and that is a really good thing.

So it has been a really good weekend of progress and on top of that I have heard from Dilyana and she is going to send me the translated paperwork this weekend so I can book into the notary next week and get that progressed.

I have a list of stuff to continue progressing at the storage; I want to mount and affix the laycorn boxes to the frame on the front of the trailer and I need to get the roof box off the top of Julian and work out how I can get both boxes up there. I also want to reseal Julian around the joints with waterproofing tape. Most of these things are held up now because of Thomas being off the road.

That's a long enough blog post for now. Cheers for reading it all.

Friday, 6 December 2013

The decided route (well, what it is now anyway)

So I said that the night before last I was supposed to finalise a rough idea of targets for each of the days having done "version 1" and had that breakdown rejected by the parents as containing too long days.

This evening I have come home with energy and actually achieved loads.

First of all I have taken the dining table apart and got that ready for taking to the storage this weekend. This took me a little while as the bolts are a bit awkward on a couple of the legs. I do have pictures but I'll keep those for another blog.

Since then I have broken the travelling down into sections, adding an extra day over "version 1" which is not such a dreadful thing (we're not in a race) and keeping each day to a manageable portion.

So here is my plan.

My basic assumptions are as follows

  • We can do between 300 and 350 miles every day
  • We want to stop near a service station (with a Travelodge (and some caches near)) every 
  • We have to get across Romania in one day, which means being at Szeged at the end of a day
  • We are avoiding toll roads

Day 1 - Sunday.

Blackpool to Birmingham (the parents house)
Blackpool to Birmingham (the parents house).
The first day of the trip we are only going to head towards my parents house in Birmingham. This will allow us to get used to driving in a convoy while on roads we know and without too many miles to achieve. They will also be able to get to their church and I can sort out any teething problems with the packing in a safe and easy location.

Day 2a - Monday.

Birmingham to Dover (209 miles).
Early Monday morning we will head off for real, making our way to the ferry at Dover before lunch time. I must admit to be having a few concerns about the M25 on a Monday morning, but we shall see.

Day 2b - Monday.

Calais to near Antwerp (126 miles).
Once off the ferry in Calais I want to get as many miles as I can away from the ferry, to ease the next days. We can rest on the ferry and then crack on as soon as we land.

Day 3 - Tuesday.

Near Antwerp to Wurzburg (323 miles).
The next three days are broken up very much with the idea of ending up nicely at Szeged. I have picked spots pretty randomly which make each day roughly even. It could be that we do more one day and less another.

Day 4 - Wednesday.

Wurzburg to Spratzern (320 miles)
As for the previous day our actual ending point for the day will depend on finding a service station or hotel. Finding rest points will be my next major task, based on these rough estimates of daily targets.

Day 5 - Thursday.

Spratzern to Szeged (286 miles)
The only firm decision (other than the ferry which is booked) is that we want to finish our day at or just past Szeged.

Day 6 - Friday.

Szeged to Sofia (401 miles)
This is our longest planned day, both in terms of mileage and also time as the roads in Romania are not as good as the rest of Europe, and the whole journey has been aimed at bringing us to this day as ready for it as possible. The end of the day will find us at the bridge and here we have to hope there are not queues.

Day 7 - Saturday.

Sofia to Kardjali (150 miles or 170 miles)
The last day of our drive will see me driving on roads which I know, and I am sure will be a very exciting day for me indeed. The two mileages under the picture are because if the snow is still on the ground I will not go through the mountain pass (as on the map) but continue along the main roads towards my destination. This decision will be made as we are approaching the turnoff.

So there you have it.

I have taken this route and put it into some fantastic software which purports to import directly into your Tom Tom or Garmin. This was REALLY easy to do as I followed the instructions given in the following link. http://www.meetup.com/motorcycle-4/messages/boards/thread/9598354. I have put this in an earlier blog too but here it is if you missed that one.

http://www.tyre.tk/ is really easy to use and the basic package is free (the best price) I am going to have a test run over the Christmas break with a route plotted using it so will report back but so far it looks good.

Thursday, 5 December 2013

Small wins (and tiredness)

Today is a very short blog as yesterday I went home with all the best will in the world aiming on finalising my route plan and breaking the route up into days (as the first draft from the other day had three 500 mile days which is too long) but when I had eaten my pizza and drunk my beer I was SO tired I just went to bed.

zzzzZZZZZZZzzzzzz
zzzzZZZZZZZzzzzzz
Lazy boy that I am.

What this means is that this evening I now have loads more stuff to do. I obviously need to do this work on the route but on top of that this weekend I am bringing the trailer back to the house and taking some of the larger things which I want to take with. This is mainly the dining table and chairs. Tonight I shall be taking it apart so on Saturday I can just chuck it in the trailer and go.

Sad Thomas the Tank
Sad Thomas the Tank
Thomas is still unwell however I will be using him that morning and then straight into the garage with him for more investigation.

One small win which I wanted to share is that I have actually recieved a contract and Power of Attorney from Lubo. This has been sent to Dilyana for translating and then I'll go back to my friend Notary (who I used when I bought the school) to get it signed and all the stuff added to validate it, and then it'll be couriered back again.

Maybe I will get the PuP before I arrive over there, maybe even the Permission to Build can be sorted out. I am still going through a middle-man to talk to Lubo which isn't ideal but I am trying to get direct so I can sort out some of the delays.

what it says, really....
Anyway... onwards.

Wednesday, 4 December 2013

Route decision made, now for planning it

I can hear you celebrating already... this isn't a blog about the rabbit hutch! wooo..

It does, however, go back to another old favourite subject which is me trying to decide which route to take on the drive over.

I have made my mind up.

Celebration!
Celebration!
*fanfare and hullabulloo*

After much thinking, and many conversations, I have decided that I am going to do the Romanian route. This is down to two specific issues.

  1. My whisky
  2. The trailer
I know I can't take all my whisky through Serbia (though I have found some interesting places to hide it in Julian) and I have also heard one too many stories about the Serbian authorities being OK with vans, but not with trailers.

One way to hide alcohol
To be honest the decision is not that weighty as the drive is going to be a challenge whichever route I took (and more so as Thomas is still unwell and I have just heard what could be really bad news; I may even have to sell and get a different truck - the thought of which makes me very sad, but that's for another time).

So: decision made.

I had a short teleconference with the parents the other day about this and also discussed the driving arrangements. I have decided (though this is not something which we will find difficult to change) that I will drive Julian for the majority of the time, while they share the driving of Thomas (or his replacement). This is down to another few thoughts:
  1. Julian is harder to drive
  2. Thomas will have the trailer and I'm not getting the additional code on my license
  3. It will mean they drive less (50% of the time, not 66%)
Just when you thought I could never make up my mind, I do so twice in quick succession. Aren't I impressive.

It is, isn't it
It is, isn't it
So I am now breaking down the journey into the projected days and will probably have this done after I have finished writing this blog. I have the journey as about 2011 miles and 39 hours of driving which avoids tolls even in Austria (not something I think I will be doing though the route it is suggesting doesn't look too Alpine...) and tomorrow I will be back with my "this is what I want to drive" plan.

Cheers

Tuesday, 3 December 2013

The mesh door

I got home from work today a little early as I had to drop past the post office to collect a parcel; actually a Christmas present from my parents which is a stylus for my new record player.

As soon as I got in I didn't even stop and gathered my tools and gear together to go straight out and crack on with the next step for the travel hutch; the top door which is a frame with mesh over it.

My sketch, measuring tools, and the cut lengths
First of all I measured the space carefully and did this a couple of times to ensure my little diagram plan was correct. There are, as per usual, more than one solution to the problem of creating a square frame so I chose the simplest; just two long lengths and two shorter lengths butting down. With the jigsaw i was able to cut all four lengths from one piece of wood with only an inch or so of waste. I like it when I don't waste things.

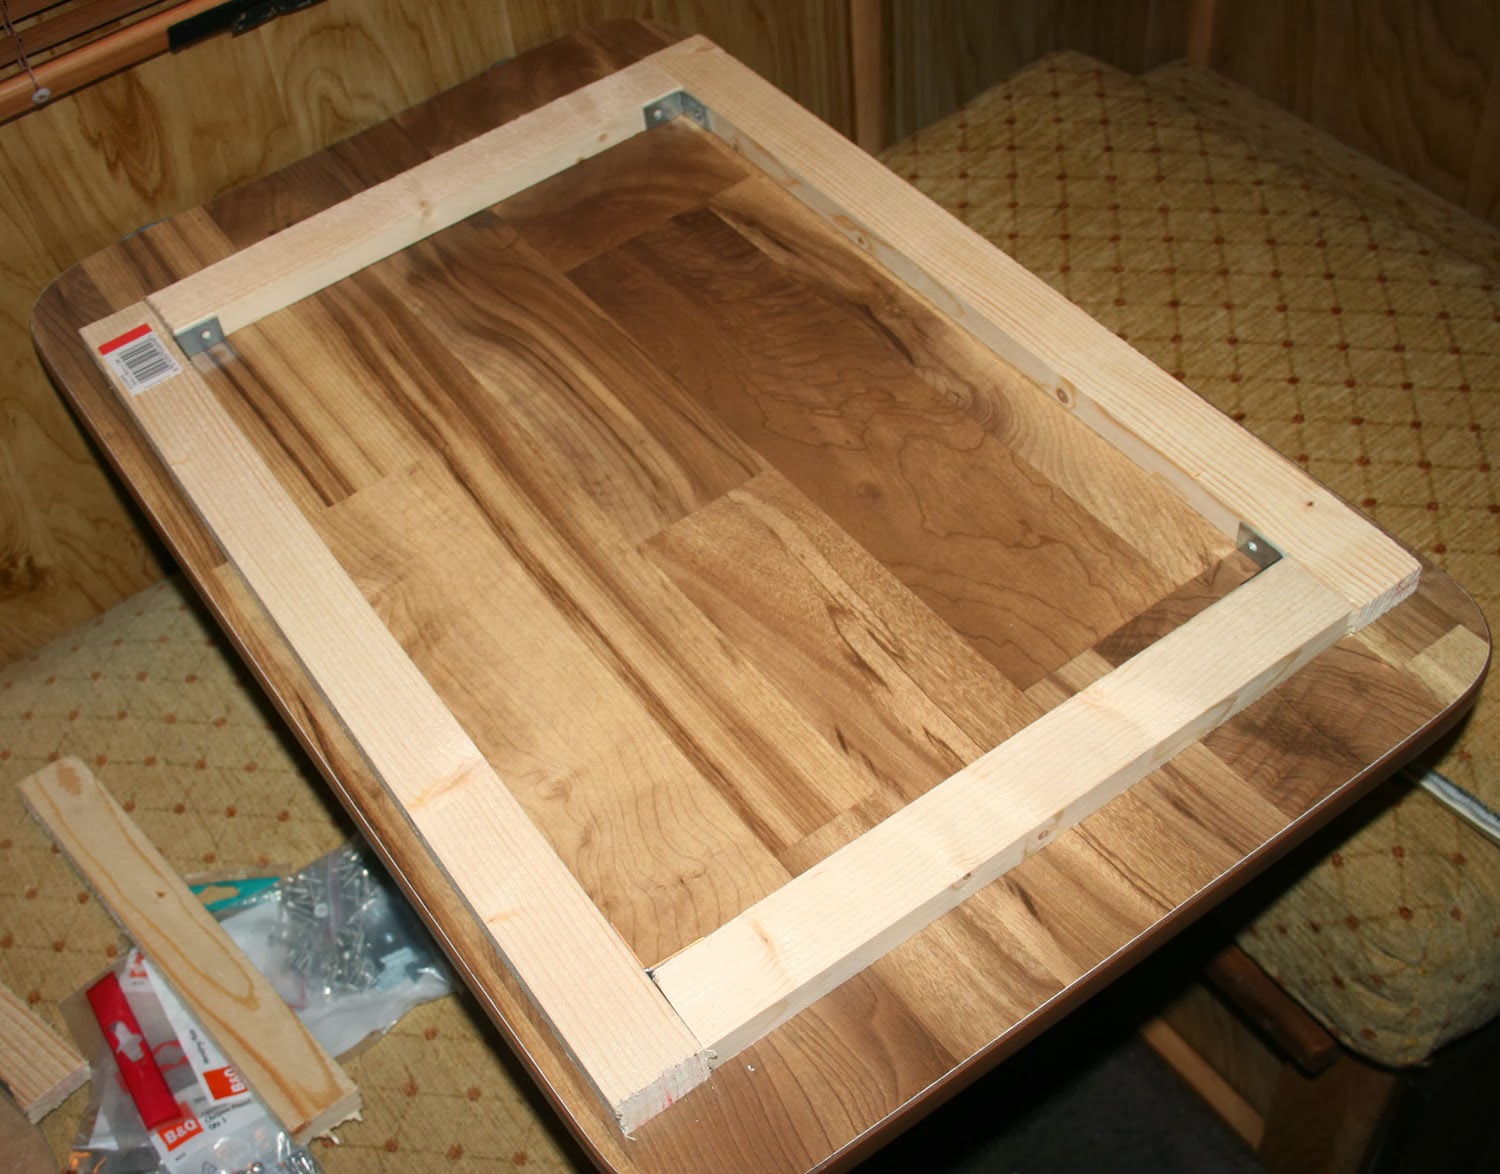
The frame, laid out before fixing together
With the correct lengths cut I put the table up in Julian and used this flat area to lay the frame out and roughly position where the right angle joints would have to be attached.

Pen mark to indicate location of screw
Rather than juggle and struggle I marked with a pen where the holes would go on the long lengths and then screwed each right angle in the correct place on the long length. I then juggled and struggled to screw the shorter lengths to the right angles. It took a little bit of effort, and a lot of cursing (as always) but I got there in the end.

Reinforcing the corners
The right angle joints made the job easier however they are not very rigid and therefore I chose to reinforce each corner as in this picture; with a long flat joint down across the two pieces of wood. With these in place the frame was square and was also did not flex any more which is exactly what you are aiming for.

I am aware I should really have used correct joinery skills here but I do not have the tools to do this; when I'm over there I hope to get them and try and improve these basic techniques and use more advanced ones over time.

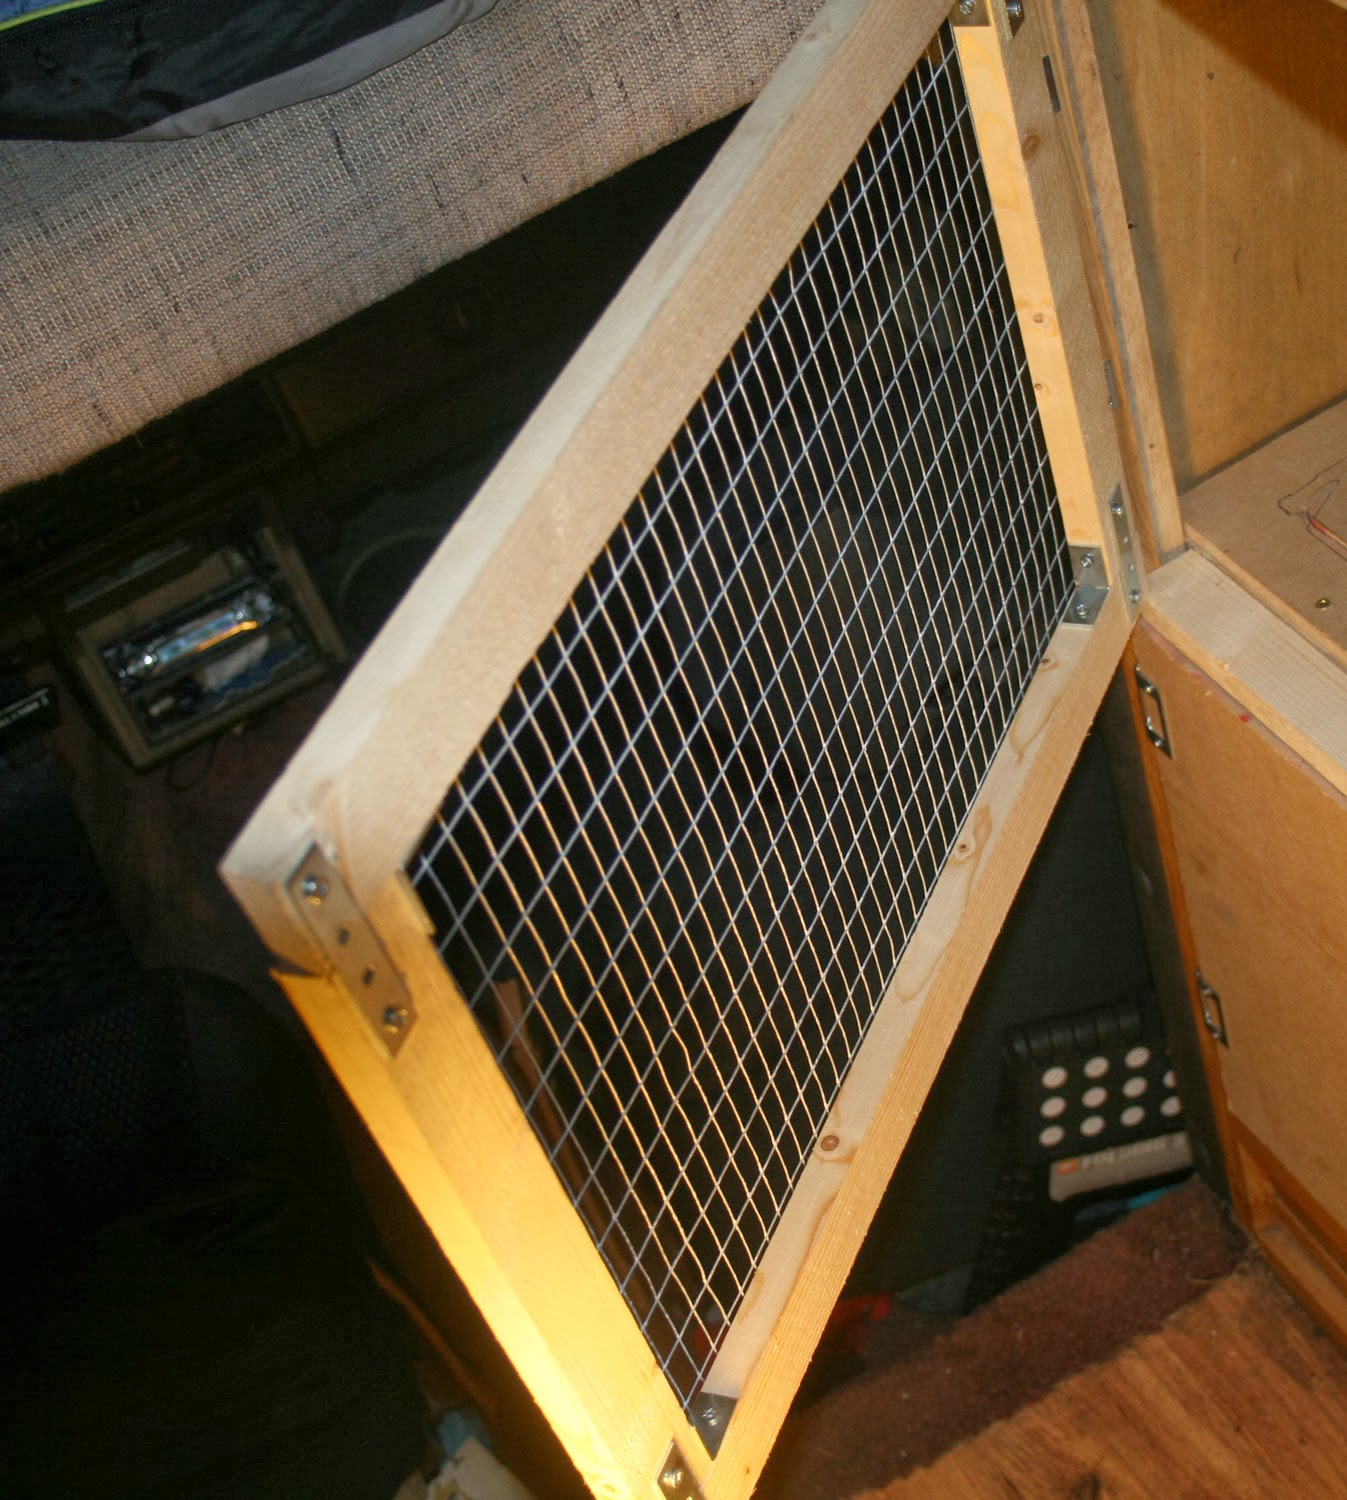
Next task was to prepare the mesh which is going over the door. I measured this carefully and then got my snips and cut the large section down to size. This didn't take that long as I have just got some new snips to take with me, following on from the plastering course. The correct tools really do make a difference.

U nail securing the mesh
From one of my newest purchases to something I've had for years now; one of the first things I ever built was a large rat cage from a converted book shelf and I bought the U nails to do this. Now I was using them again for another animal-related construction and, with the help of needle nose pliers to hold the nails in place so I didn't hit my fingers, I very quickly had the mesh attached and secure. A big shout out to @ISambaman here for suggesting I avoid chicken wire and buy this style of mesh; this was very good advice and thank you.

Hinges attached
Hinges attached
I then started struggling to affix the hinges; I realised that I would have to attach them to the frame before the door so this was completed very quickly however trying to then attach the door defeated me. Fortunately I had help at hand and, with this help, the door attached in no time.

Swinging door.....
Swinging door.....
The fit of the door is very tight; even slightly sticky however this isn't a bad thing and it is not so tight that opening it is a problem. I would rather it was that close to accurate, than wildly too small.

The front of the rabbit hutch
And there it is. The hutch is not completely finished yet so you'll have at least one more boring update about this whole process. I have to build the ledge for the ramp to lower onto and I also have to stuff the gap with insulation and then put the top back panel on and nail the access panel closed. I will do this at the weekend when I drop Julian back at the studio and collect Thomas from the garage where he is still being an unwell boy right now.

She's a happy bunny, honest
D'ya think Sassy'll look happier than this when she is in Bulgaria?

Monday, 2 December 2013

Putting a door on

Over the weekend I did a bit more towards the hutch in Julian however I didn't do as much as I planned as Sunday I was too hung over from the penultimate whisky night on Saturday night.

There's another "for the last time" to do; not for a while yet.

Anyway, Saturday I woke up bright and early and waited until about 10am so as not to annoy the neighbours with my use of power tools. My target for the day was to hang the door on the bottom half of the hutch however before I could do this I realised that I needed to finish of some of the framing.

Fixings for the middle of the door frame
As my plan is to have two doors, one solid below and one with metal mesh above, I need to have a divider between the two so they have a snug fit. This will keep them rigid and make it all last longer.

Firmly fixed
Firmly fixed
I used for straight fixings and then, to add more rigidity, put a couple of right angle fixings on for good measure, one at each end. If only I could have got a photograph taken of the contortions I had to go through to fix this in place; I was laying on my back with my legs over the back of the drivers seat and my head inside the hutch. Then I had to reverse my position to get easy access to the other end. I really need to get fitter as I found this quite hard work.

I'm satisfied though as this support is now just as solid as the rest of the build.

So after this I took myself over to B and Q as I had a few bits to get; some hinges, some catches and the metal mesh for the top door. This trip was very successful and I bought everything I needed, including finding a tool box on sale which is perfect for me so I picked that up too.

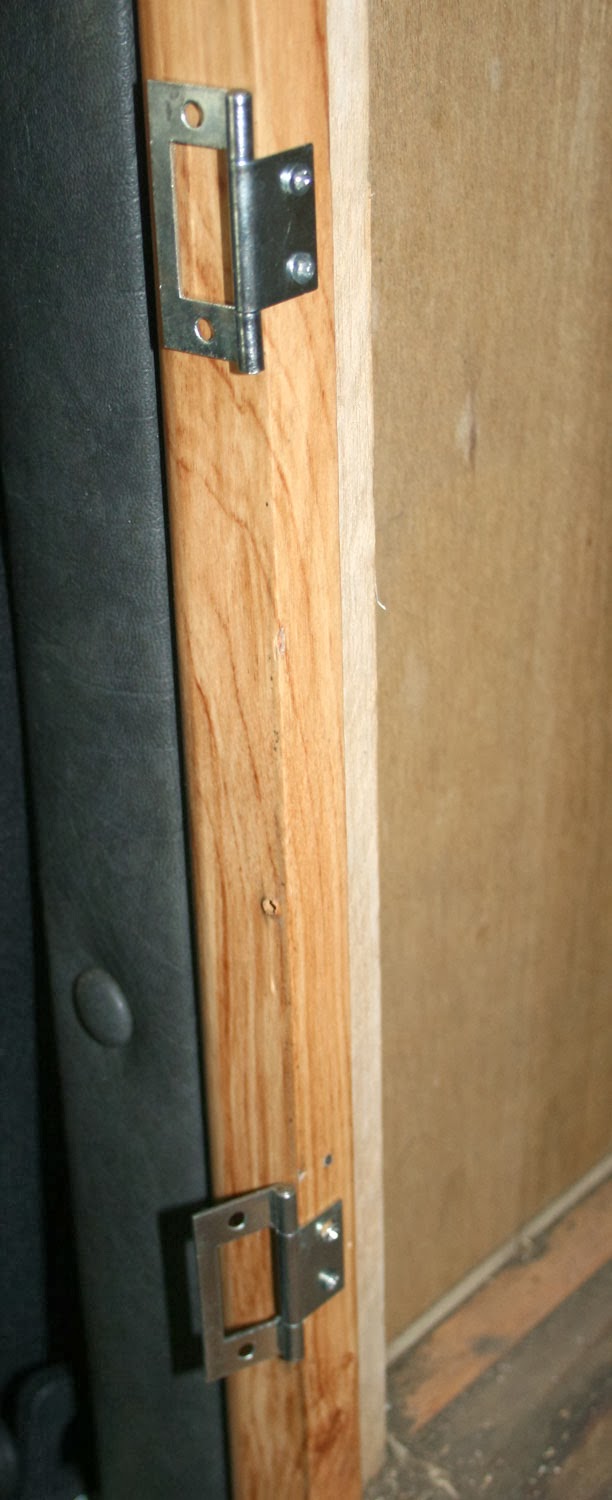
Hinges mounted on the frame first
As soon as I got back I set to with the challenging task of putting the hinges on and attaching the door so that it would open easily. As you can see after a bit of thinking I decided to mount the hinges on the frame first, not the door. I'm not sure if this was the best way of doing it but never mind that's just what I chose.

Having fixed the hinges I realised that I could use these same hinges (with their slightly shorter screws) for the ramp and remove the unsightly wooden blocked I had mounted to stop Sassy from catching herself on the protruding screw ends. This was achieved very quickly and I also changed the size of the screws which were holding the shelf down as the ones I had used before were a little short and hadn't quite bitten securely into the frame.

Guide holes
Guide holes
Next I had to mount the door onto the hinges and here I started questioning my hinge-on-frame-first decision. It took me a fair amount of time to get the door lined up satisfactorily and then I had to mark where my screws were going and go and start off the holes as it was impossible for me on my own to hold the door, the hinge, the screws and the screwdriver while attempting to start a hole all at the same time.

Hinges in place
Hinges in place
Finally after much hassle and juggling and dropping and cursing I managed to get the first screw in fully and then it became easier. For the next one I think I may attach the hinges to the door first and then the frame - I may also try and get some help so I'm not juggling with things quite so much.

So the door was hung and now I needed to use the catch I had bought to keep the door shut. I had spent a fair amount of time perusing the options at B and Q. For a while I was tempted by a roller catch but decided that it could be pushed open from the inside and I know just how clever rabbits are at escaping. Because of this I chose an externally mounted catch.

Shiny lovely catch
Shiny lovely catch
This part was quite easy, apart from initially I put the hook part too far to the right and so I had to move it slightly (you can see the screw hole in the picture showing I was out by about 5mm).

These will need cutting off
The last thing to do was to use a hacksaw to remove these little bits of screw just sticking through from the catch. This was the work of a couple of seconds and the door was mounted successfully.

As I have said I had planned on doing the other half of the door today (yesterday as you read this) but my hangover had kicked in and I spent the day reading and hiding from anything remotely resembling work. I will now have to complete this on Monday.

D'awwwwwwwwww
D'awwwwwwwwww
Sassy is a lucky bunny!